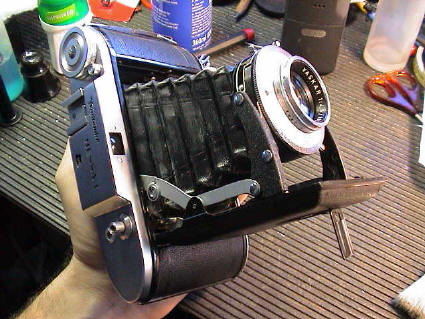

| Essentially, the camera was
quite grubby, had a dirty and fungi'd lens and generally needed a tidy
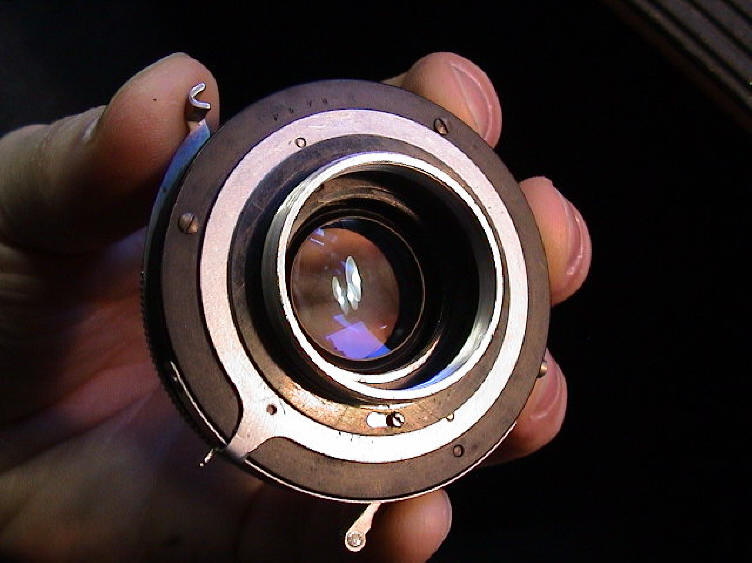
up. First task is deciding whether to work with the lens/shutter assembly in place or remove it. I decided on the latter seeing as I was keen to get in and around the bellows. Further, the rear lens group did not have slots for easy removal and to stay safe I wanted to have unhindered access to it when time came to unscrew it. |
Whilst searching for some Voigtländer links, I came across some images that appealed to my sensibilities so you all may as well look at those too. Check out Takashi Sugioka's very tasty-looking autumn leaves here. Someone else has a few photos here and here someone has some snaps of the camera itself. |
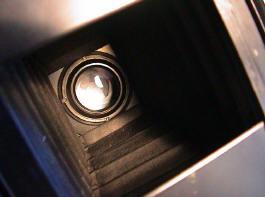
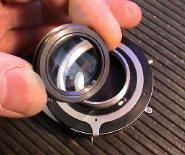
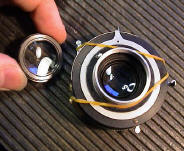
| The lens and shutter are
removed as a single unit by unscrewing the retaining ring at the rear of
the front standard. The easiest way to do this is to keep the camera folded as to the left here. |
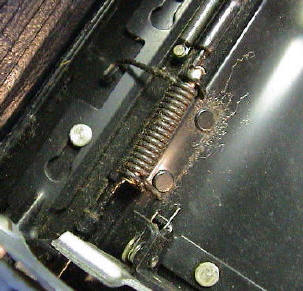
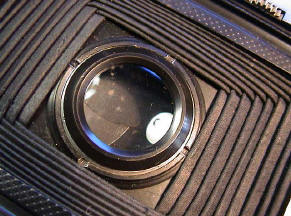
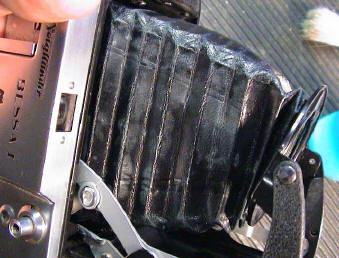
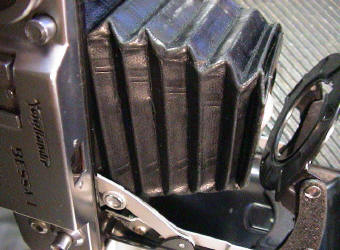
| With the lens/shutter
removed, the bellows fall back into the housing and we can see a fair
bit of dirt and corrosion in and around the springs and struts. I
clean these last before putting it all back together below.
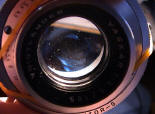
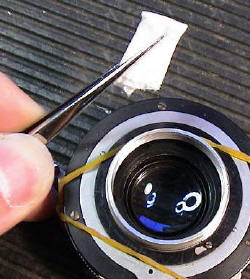
On to the lens. Lens cleaning is an art that will be discussed elsewhere when I get around to it. Suffice it to say.... be extremely careful! Furthermore, a lot of these old German lenses have very soft coatings that can easily be damaged. |

| With the lens/shutter
removed, the bellows fall back into the housing and we can see a fair
bit of dirt and corrosion in and around the springs and struts. I
clean these last before putting it all back together below.
On to the lens now. Lens cleaning is an art that will be discussed elsewhere when I get around to it. Suffice it to say.... be extremely careful! Furthermore, a lot of these old German lenses have very soft coatings that can easily be damaged. |

Proceed to page 2 of this article
| Click here to return to Index |
All material Copyright Robert Ian Axford |
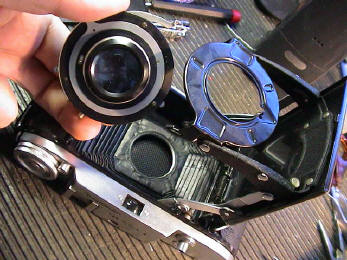
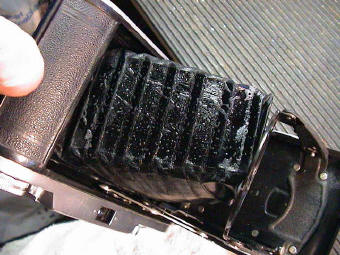
| From the above image
clockwise around to the one just below, we have the cleaning of the
bellows.
This camera had a good set of bellows with no cracking, holes or other damage or wear. There was a fair bit of mould growing all over it and of course general dirt and dust was prevalent. My favorite mild detergent solution (Windex, Windolene or whatever standard glass cleaner is called where you live) is first applied to a soft toothbrush and then I proceed to scrub the exterior of the bellows. I use a towel on my fingers from the inside of the unit to spread it out and hold it securely during the cleaning. Afterwards, I use a soft towel to wipe the bellows dry. The procedure is kept short to avoid soaking the fabric in a lot of fluid. |