
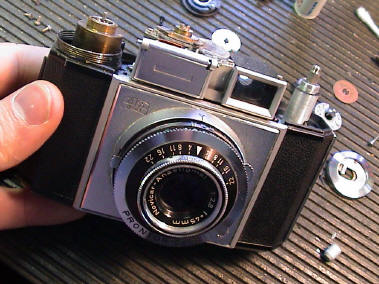
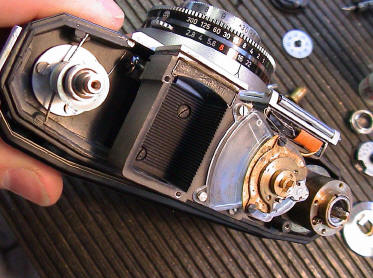
| Once the top plate and all
knobs are removed, we can see the viewfinder and metering system.
Underneath this assembly is the where these cameras usually jam up
through old and dirty lube.. |
Further info on this model can be viewed here. |
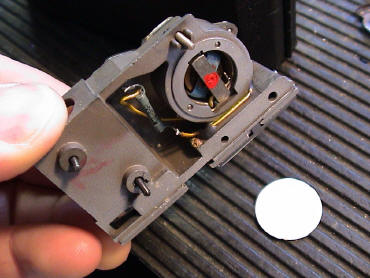
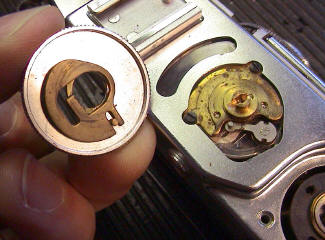
| To the left and above we can see what turned out to be the real cause of this camera jamming. The white plastic disk is normally glued underneath the meter coil to keep dust and dirt out of the mechanism. In this case it had long ago come away and was occasionally getting stuck in the gearing where I found it.. |
![]()
![]()
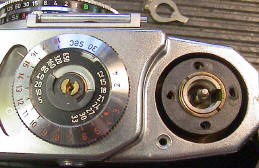
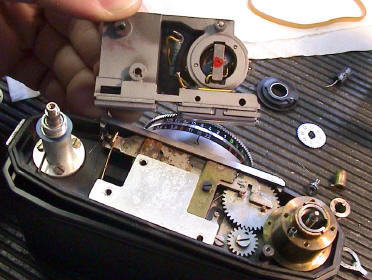
| These two
screws plus another one out of sight here will release the entire
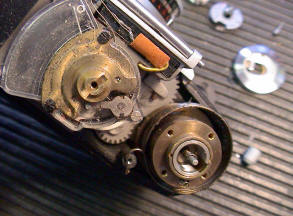
assembly in one go. To the right we can see some of the winding gears protruding out from underneath the meter. On the right below I've removed the meter and viewfinder and a stack of shims (red arrow) is now visible. Also note the sliding shutter tensioning mechanism (blue arrow) that needs a clean up. |
![]()
![]()
![]()
![]()
![]()
![]()
![]()

| Click here to return to Index |
All material Copyright Robert Ian Axford |
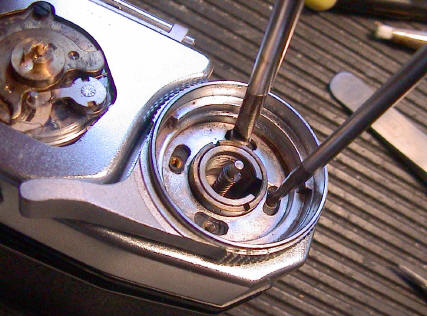
| During
reassembly, it is important to ensure this lever (red arrow) finds
itself resting against the cam (blue arrow) and not underneath it. The
brass plate, which can be removed from the dial for easier assembly, has
adjustments (tweaks) for taking up slack (green arrows). Finally, the wind lever on these cameras must be reassembled against some spring tension - the shutter itself is not tensioned however. I advise setting it up roughly with the lever off, then hold the brass barrel in place with a screwdriver in one of the screw holes. Then, after fitting the lever by swapping the screwdriver with another one that has been poked through the slots here, I insert just one or two screws until I've decided on proper positioning. That point is reached when the shutter tensions, the film winds and the frame counter moves on a step all at the same point in the lever's stroke. This can take a few goes to get right! |